

8 Best Cat Proof Curtains ideas
Cat proof curtains are specially designed curtains that can keep cats from climbing the curtains or damaging the fabric. Normal […]
8 Best Cat Proof Curtains ideas Read More »
IdeasCat proof curtains are specially designed curtains that can keep cats from climbing the curtains or damaging the fabric. Normal […]
8 Best Cat Proof Curtains ideas Read More »
Ideas
How to block light from windows effectively can be tricky. Finding the right window covering solution to completely block out
How to block light from windows in 9 Best ways Read More »
Improvement
How to block light from top of curtains can be challenging as light tends to seep in from the small
How to block light from top of curtains in 5 Best ways Read More »
Improvement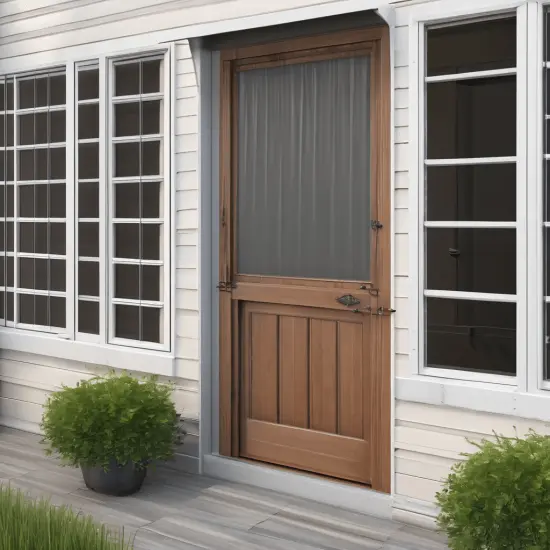
Dutch door with screen can be a good option if you need both airflow and privacy control. It allows breezes
6 Trending Ideas For Dutch Door With Screen Read More »
Ideas
Engaging the work of a reputable painting service in West Melbourne is crucial for maintaining the aesthetic appeal of buildings
6 Reasons to Hire Professional Painting Services Read More »
Improvement
The Statue of Liberty and the Chrysler Building exemplify metal cladding’s beauty and robustness. It might not be the most
Metal Cladding: Things You Must Know Read More »
Improvement
When it comes to interior design, flooring choice has a significant impact on the atmosphere and visual attractiveness of a
7 Reasons Why Tasmanian Oak Flooring is Perfect for Modern Interior Design Read More »
Improvement
Welcome to our blog, where we dive into the transformative power of roof painting in home renovations. In this guide,
A Comprehensive Look at the Significance of Roof Painting in Renovation Projects Read More »
Improvement
Average height of house in the United Kingdom varies depending on location and period of construction, but most common is
What Is the Average Height of House in uk? Read More »
Home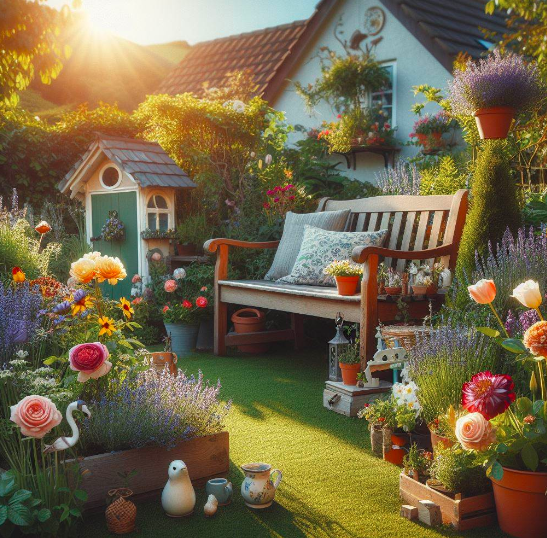
Happy Garden, a place of beauty and relaxation. Within its borders lies a colorful assortment of flowers and greenery, spreading
Happy Garden: Unleashing Joy and Serenity Read More »
Home