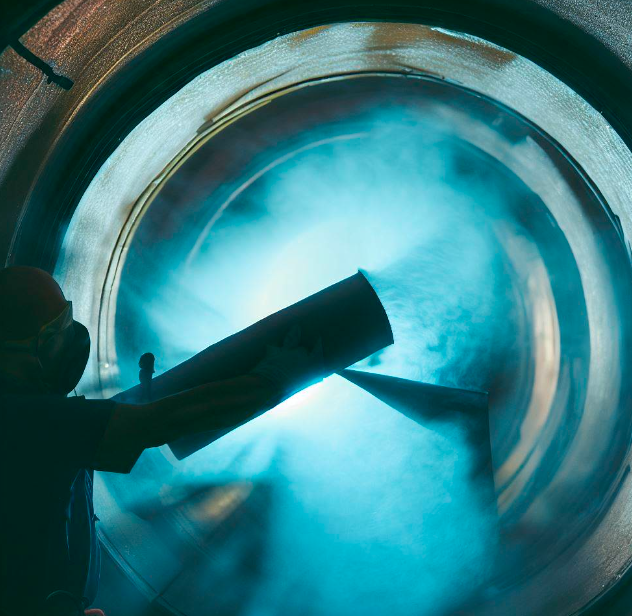
Dirty air ducts can reduce indoor air quality and exacerbate allergies. Over time, ducts collect dust, debris, pet hair and pollen. Professional duct cleaning is expensive. As an alternative, many homeowners clean ducts themselves using DIY methods. This article outlines the tools and steps to clean air ducts at home.
Why is it important to clean air ducts?
There are several reasons why keeping your air ducts clean is so important for indoor air quality and health:
- Trapped dust, pollen and other allergens circulate through the ducts and are released back into the rooms, exacerbating asthma and allergy symptoms.
- Dirt buildup in ducts reduces the efficiency of your HVAC system as it works harder to push air through. Professional HVAC duct cleaning can increase efficiency by 15% or more.
- Mold and bacteria can grow in the moisture accumulated in dirty air ducts. Circulating spores from ducts poses health risks.
- Large debris like coins, toys or dead rodents in ductwork may damage the HVAC fan/blower or clog registers.
- Over time, dust settles on internal surfaces increasing the static pressure and workload of HVAC components which shortens their lifespan.
Tools Required for DIY Air Duct Cleaning
The following basic tools will help you in cleaning air ducts at home:
- Vacuum Cleaner: A heavy-duty vacuum with a crevice or narrow-hard-to-reach nozzle is essential for vacuuming out dust from inside ducts. Opt for ones with HEPA filtration.
- Brushes: Soft-bristle brushes of varying sizes help to loosen and remove embedded dirt. Look for brushes specifically made for duct cleaning.
- Scrapers: Plastic or wood scrapers dislodge debris clinging to metal surfaces inside ductwork.
- Protective Gear: Wear a particle mask, gloves and old clothing as ducts stir up a lot of dust during cleaning. Safety goggles prevent eye irritation.
- Flashlight: To highlight dark areas inside ducts to locate accumulated debris.
- Plastic Sheeting: To lay under register vents and catch falling dirt during vacuuming process.
Step-by-Step DIY Air Duct Cleaning Process
With tools assembled, follow these steps to thoroughly clean air ducts at home:
- Turn off HVAC system – Switch off breaker or pull fuse to power down before starting any work inside ducts.
- Remove vents – Unscrew and lift off decorative vent grilles to access main duct runs behind walls or ceilings.
- Seal vents during cleaning – Use plastic and duct tape to seal open duct ends to contain dust. Cut slits for vacuum hose.
- Inspect ducts – Use flashlight to view insides. Note areas with heavy buildup for focus cleaning.
- Loosen debris – Insert brushes through slits and scrub back-and-forth to shake loose embedded dirt.
- Vacuum ducts – Attach vacuum hose to slits. Slowly pull it through while vacuuming to suction out loosened dirt.
- Wipe surfaces – Use scrapers as needed and vacuum to pick up wiped residue.
- Check openings – Inspect duct take-offs, boots and other areas prone to attracting debris. Clean thoroughly.
- Replace vents – Wipe down surfaces, replace vent grilles and turn HVAC system back on.
- Clean often – HVAC duct cleaning every 1-2 years keeps indoor air quality optimum for household health.
While DIY duct cleaning is cheaper than a professional service, it does require more time and effort. Be thorough to remove maximum dirt buildup. Consider professional HVAC duct cleaning every 3-5 years for a deeper clean of your entire ductwork system.
Advanced DIY Air Duct Cleaning Techniques
Some tips to take duct cleaning a step further:
Blow, Don’t Just Vacuum:
Use compressed air to blow accumulated dirt out of ducts after scrubbing. Blow from takeoffs back towards the HVAC unit.
Disassemble Difficult Sections:
Remove sections like tight 90-degree elbows that trap lots of debris by undoing connections. Clean thoroughly before reattaching.
Wash Metal Ducts with Soap:
For ducts plagued by mold or odors, mix warm water with dish soap. Scrub duct surfaces and rinse well to remove lingering smells.
Replace Old or Damaged Ductwork:
Duct lining or tubing falling apart should be replaced rather than cleaned as fibers may remain airborne. Contact a pro for assessments and estimates.
Outsource Ongoing Maintenance:
For allergy or asthma sufferers, consider scheduled HVAC duct cleaning services every 1-2 years as upkeep between major DIY cleanings.
Conclusion
With the right tools and techniques, homeowners can successfully clean their air ducts themselves to boost indoor air quality. Regular cleaning removes pollutants, improves HVAC performance, lowers energy bills and safeguards respiratory health. For a more intensive deep clean, professional HVAC duct cleaning remains valuable. With a little elbow grease, you too can breathe cleaner air throughout your home!

