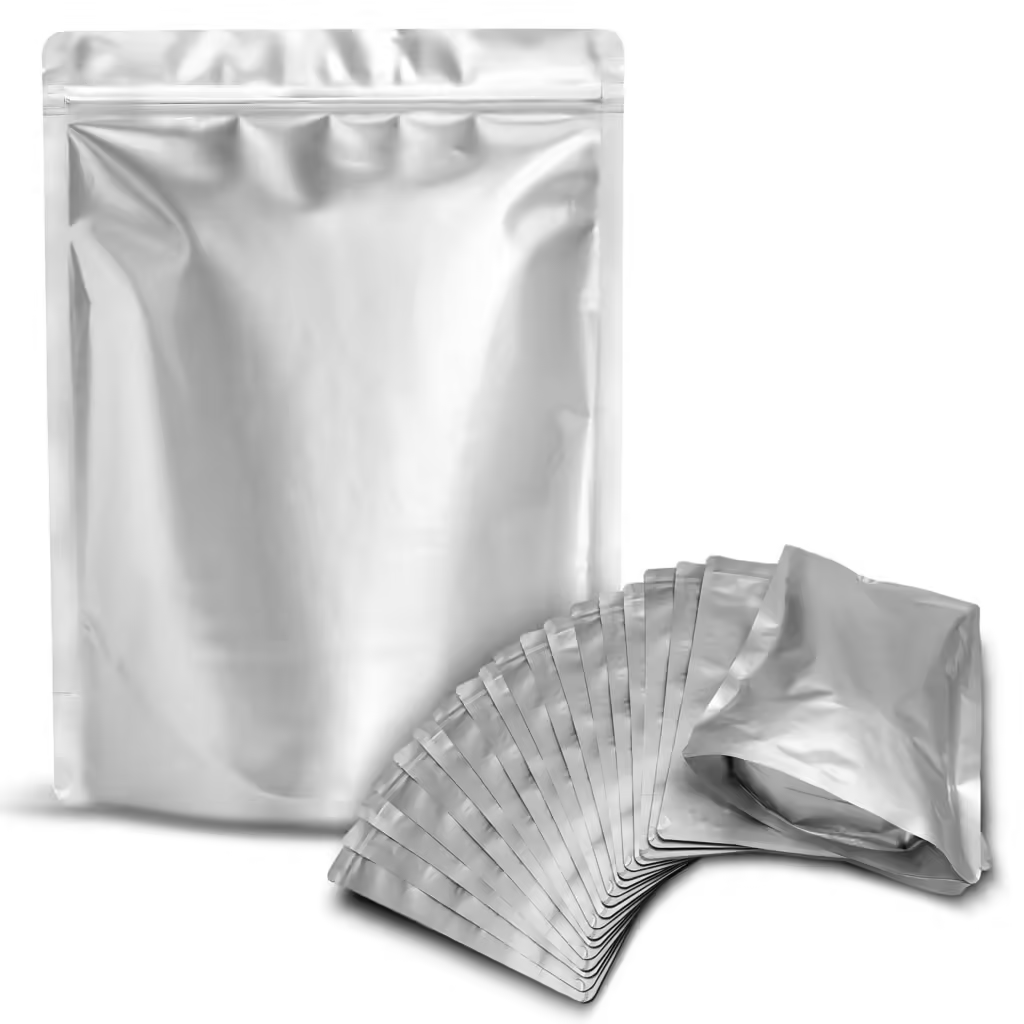
In today’s uncertain world, food storage has become a crucial aspect of preparedness. Whether you are looking to store food for emergency situations, long-term sustainability, or simply to extend the shelf life of your pantry items, Mylar bags are an exceptional choice. In this comprehensive guide, we delve into the nuances of selecting the perfect mylar bags for food storage needs, ensuring you make informed decisions that guarantee the safety and longevity of your stored food.
Why Mylar Bags are Essential for Food Storage
Mylar bags, made from boPET (biaxially-oriented polyethylene terephthalate), offer superior barrier properties that protect against light, moisture, and oxygen. These elements are the primary culprits in food spoilage, making Mylar bags an indispensable tool for maintaining food quality over extended periods. The metalized layer of Mylar provides an additional barrier, significantly enhancing its protective capabilities.
Key Factors to Consider When Choosing Mylar Bags
1. Thickness of the Mylar Bags
The thickness of Mylar bags is measured in mils, with 1 mil being one-thousandth of an inch. The most common thicknesses for food storage are 3.5 mil, 5 mil, and 7 mil. Here’s why thickness matters:
- 3.5 Mil: Suitable for short-term storage or foods that are less susceptible to spoilage. These bags are more affordable but offer less protection.
- 5 Mil: Provides a balance between durability and cost. Ideal for most home food storage needs, offering decent protection against light, moisture, and oxygen.
- 7 Mil: The thickest option available, offering maximum protection. These are perfect for long-term storage of sensitive items such as grains, beans, and powdered products.
2. Bag Sizes and Their Uses
Mylar bags come in various sizes, each suited for different storage needs. Common sizes include 1-gallon, 5-gallon, and smaller pouches. Here’s how to choose the right size:
- Small Pouches (1 quart to 1 gallon): Ideal for smaller quantities of food such as spices, herbs, and dried fruits. These are also perfect for portioning out servings for easier use.
- Medium Bags (1 to 3 gallons): Suitable for larger quantities of dry goods like rice, beans, and pasta. They provide a good balance between ease of storage and capacity.
- Large Bags (4 to 5 gallons): Best for bulk storage of grains, flour, and other staples. These bags are often used in conjunction with 5-gallon buckets for added protection and ease of stacking. If you want to know more information about mylar bags with window visit TopUSAPackaging.
3. Oxygen Absorbers and Their Role
Using oxygen absorbers is critical in conjunction with Mylar bags. These small packets contain iron powder that reacts with oxygen, effectively removing it from the sealed environment. Key points to consider:
- Size of Oxygen Absorbers: The amount of food and the size of the Mylar bag will determine the size of the oxygen absorber needed. For example, a 1-gallon bag typically requires a 300cc oxygen absorber, while a 5-gallon bag may need a 2000cc absorber.
- Placement: Ensure the oxygen absorber is placed inside the Mylar bag before sealing. It’s also essential to work quickly to minimize the exposure of the oxygen absorber to air before sealing.
Proper Sealing Techniques
Properly sealing Mylar bags is essential to ensure the longevity of your stored food. There are several methods available:
1. Heat Sealing
Heat sealing is the most common and reliable method. You can use a clothing iron, hair straightener, or a dedicated heat sealer. Here’s how:
- Preparation: Fill the Mylar bag with the desired food, leaving about 2-3 inches of space at the top.
- Adding Oxygen Absorbers: Place the appropriate size of oxygen absorbers inside the bag.
- Sealing: Using the heat source, carefully seal the open end of the bag. Ensure a uniform seal by running the heat source across the top edge of the bag.
2. Vacuum Sealing
For an added layer of protection, consider using a vacuum sealer. This method removes air from the bag before sealing, which can further extend the shelf life of your food. Steps include:
- Filling and Adding Absorbers: Follow the same steps as with heat sealing.
- Vacuum Process: Place the open end of the Mylar bag into the vacuum sealer and initiate the vacuum and seal process.
Storing Sealed Mylar Bags
After sealing, it’s crucial to store your Mylar bags properly to maintain their integrity and the quality of the food inside.
1. Storage Conditions
- Cool, Dark, and Dry: Store Mylar bags in a cool, dark, and dry place. Avoid areas with high humidity or direct sunlight.
- Avoid Pests: Consider using food-grade buckets or containers to protect against pests and physical damage.
2. Labeling
Always label your Mylar bags with the contents and the date of sealing. This helps in rotating stock and ensures you use the oldest items first.
Benefits of Using Mylar Bags
Using Mylar bags for food storage offers numerous benefits:
- Extended Shelf Life: Properly sealed Mylar bags can extend the shelf life of food for several years.
- Protection from Elements: Mylar provides a robust barrier against light, moisture, and oxygen, which are the main causes of food spoilage.
- Versatility: Mylar bags can be used for a wide range of food items, from dry goods to freeze-dried meals.
Conclusion
Selecting the right Mylar bags for your food storage needs is a critical step in ensuring your food remains safe and edible for long periods. By considering factors such as bag thickness, size, and proper sealing techniques, you can maximize the benefits of using Mylar bags. Remember to incorporate oxygen absorbers and store your sealed bags in optimal conditions to achieve the best results.


